0,00 €
You have no item in your shopping cart
So, I decided to build it myself! If you also want your own custom sewing table, keep reading!

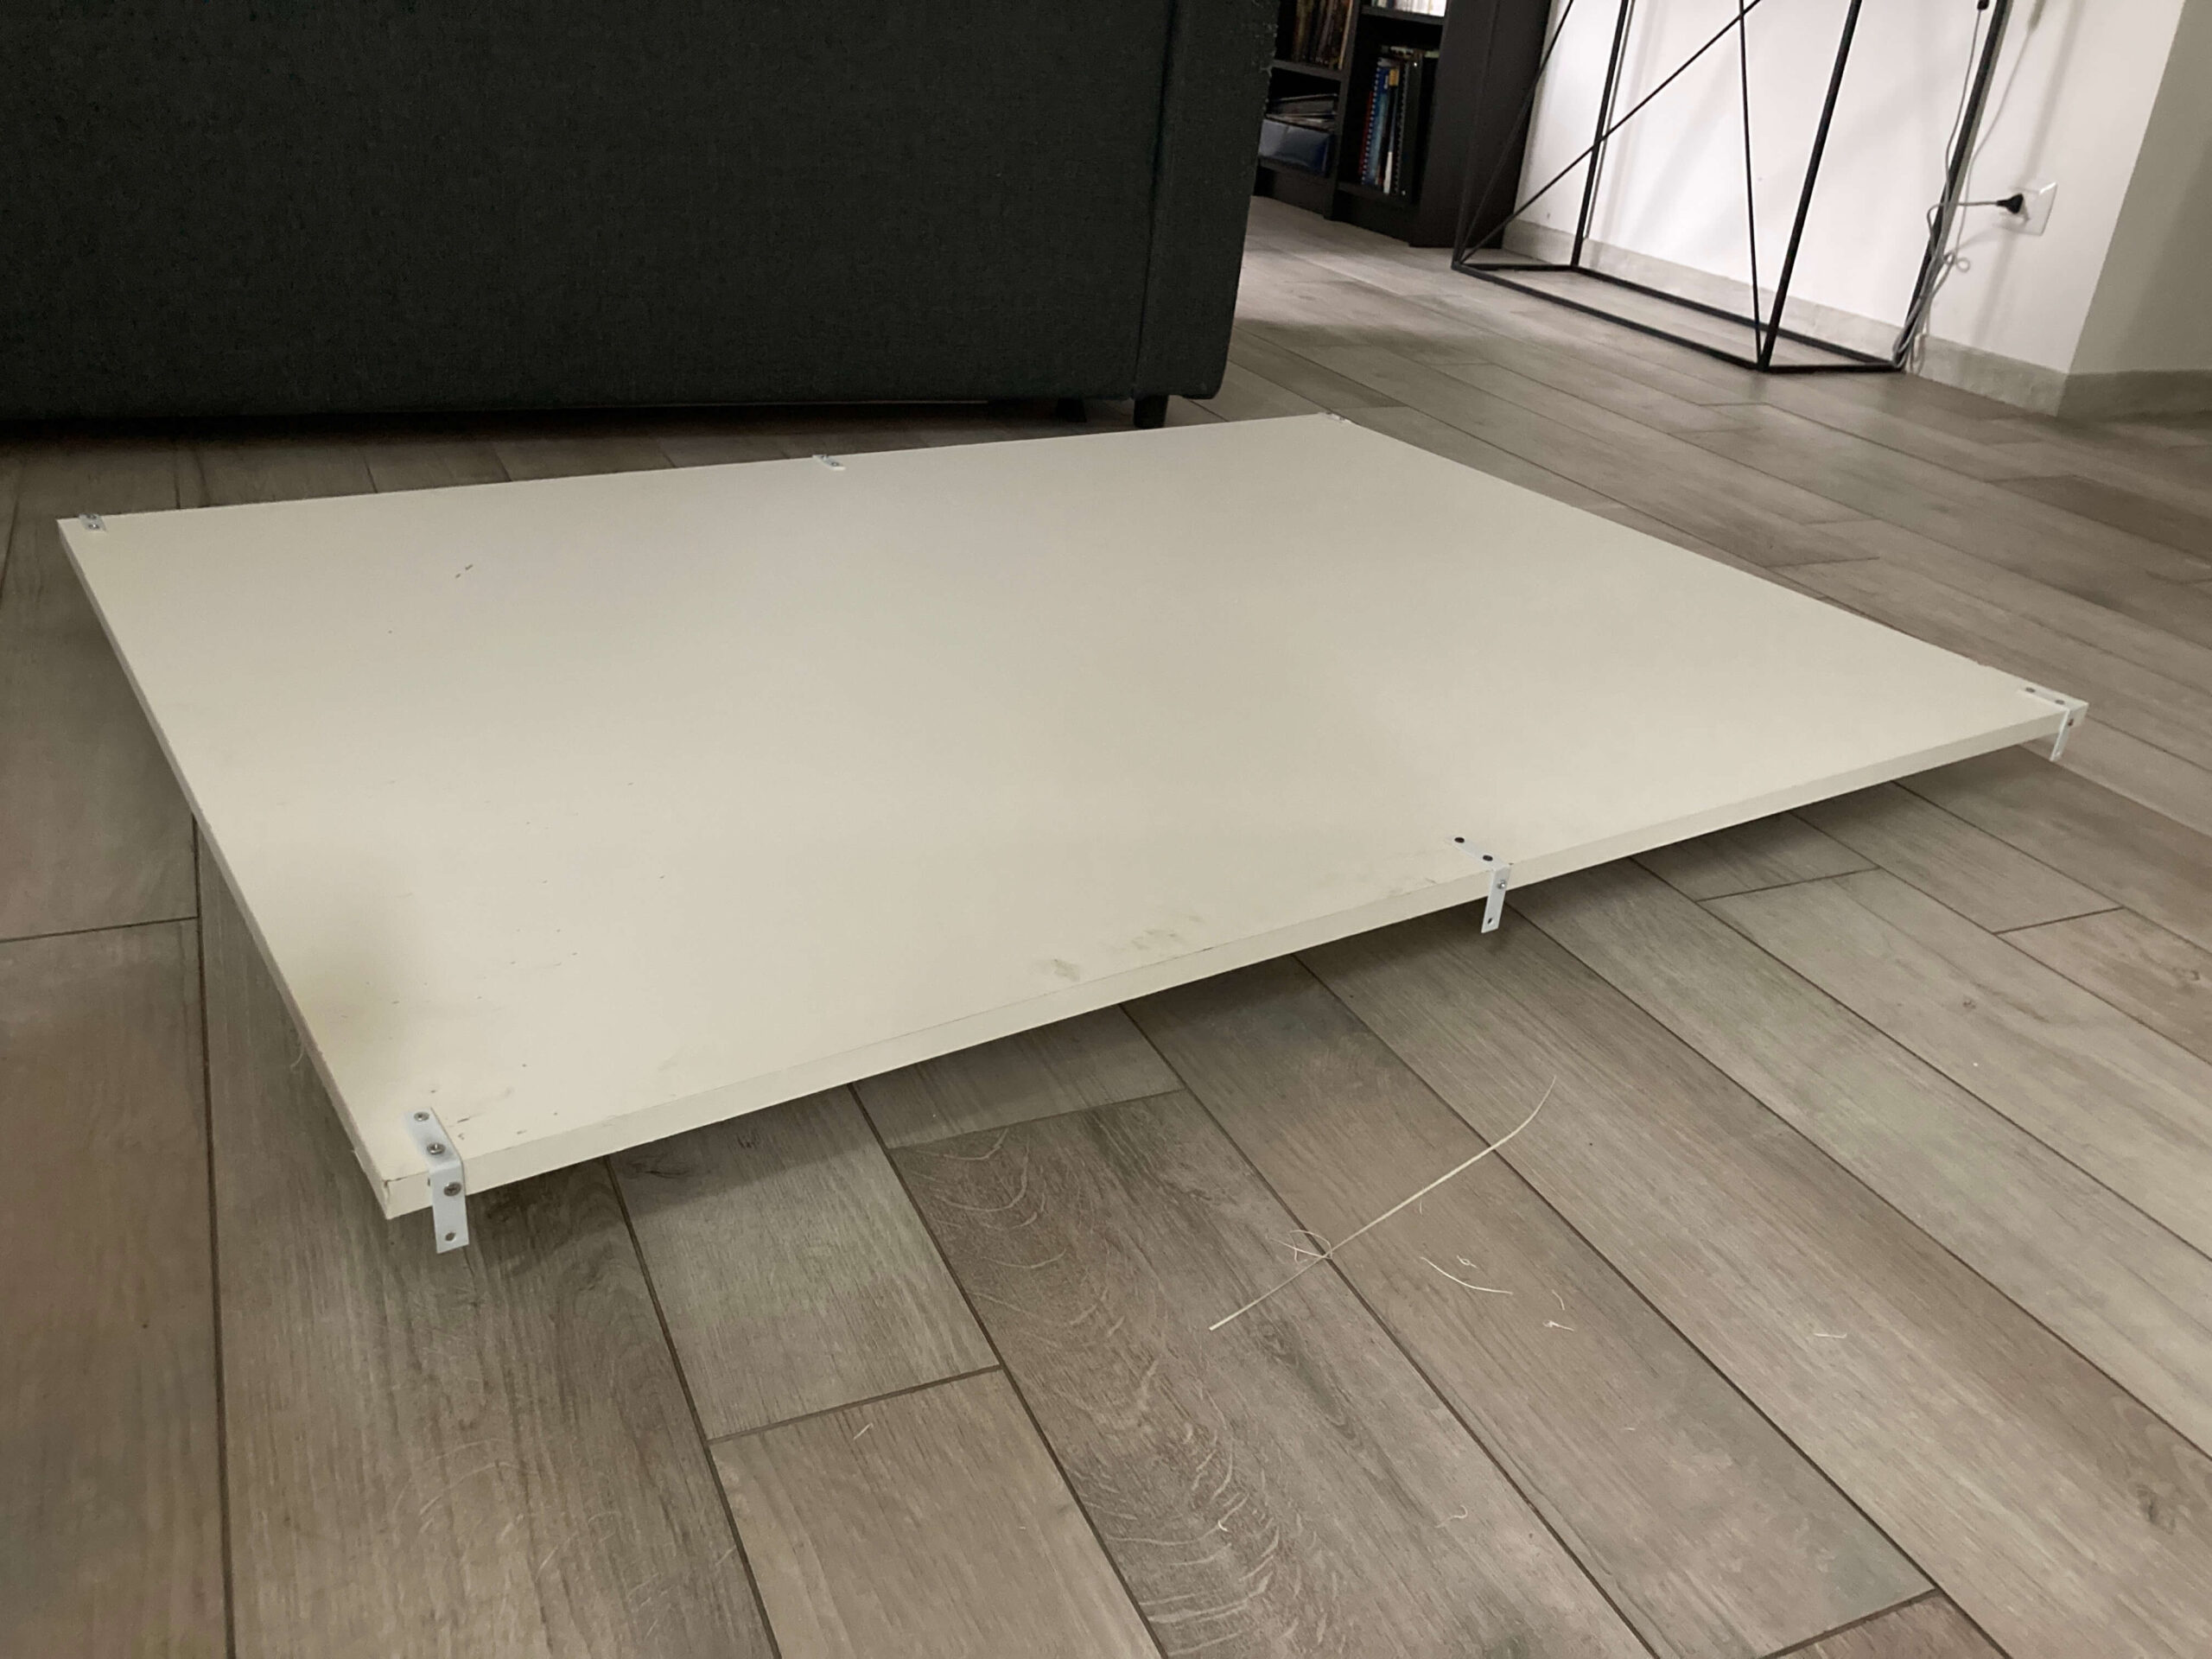
To make the table easily movable and free up studio space when needed, I needed a base to mount everything on.
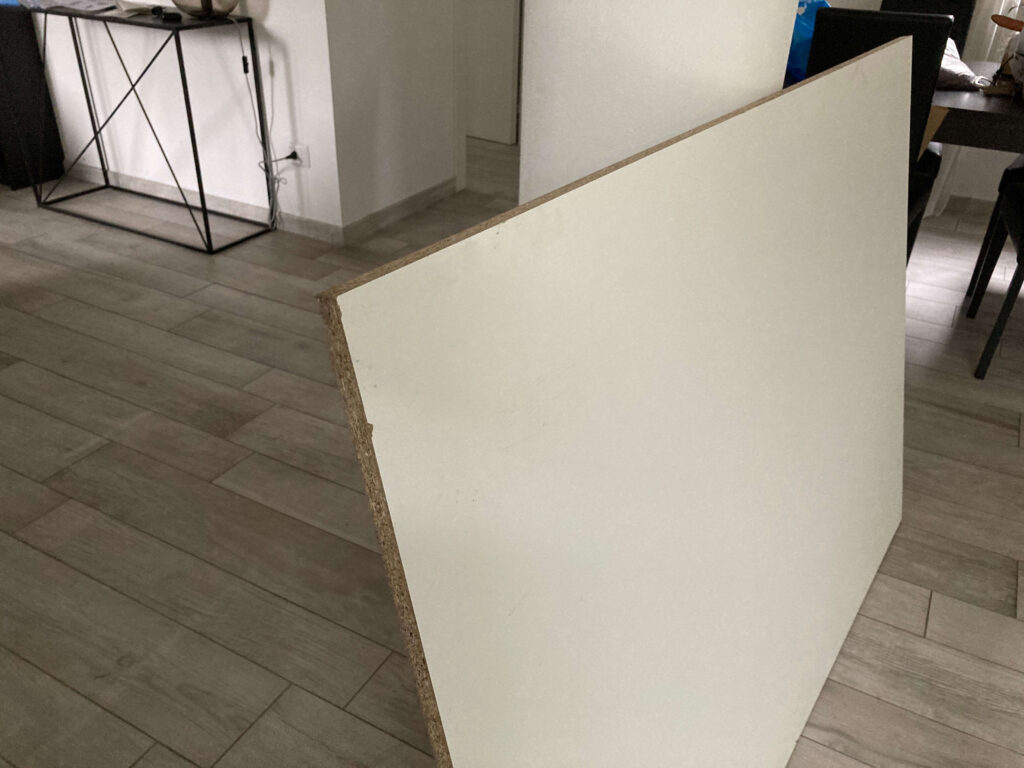
So I bought a laminated chipboard panel in white, 147 cm x 105 cm, from a DIY store, and had it cut to size in-store (usually a free service).
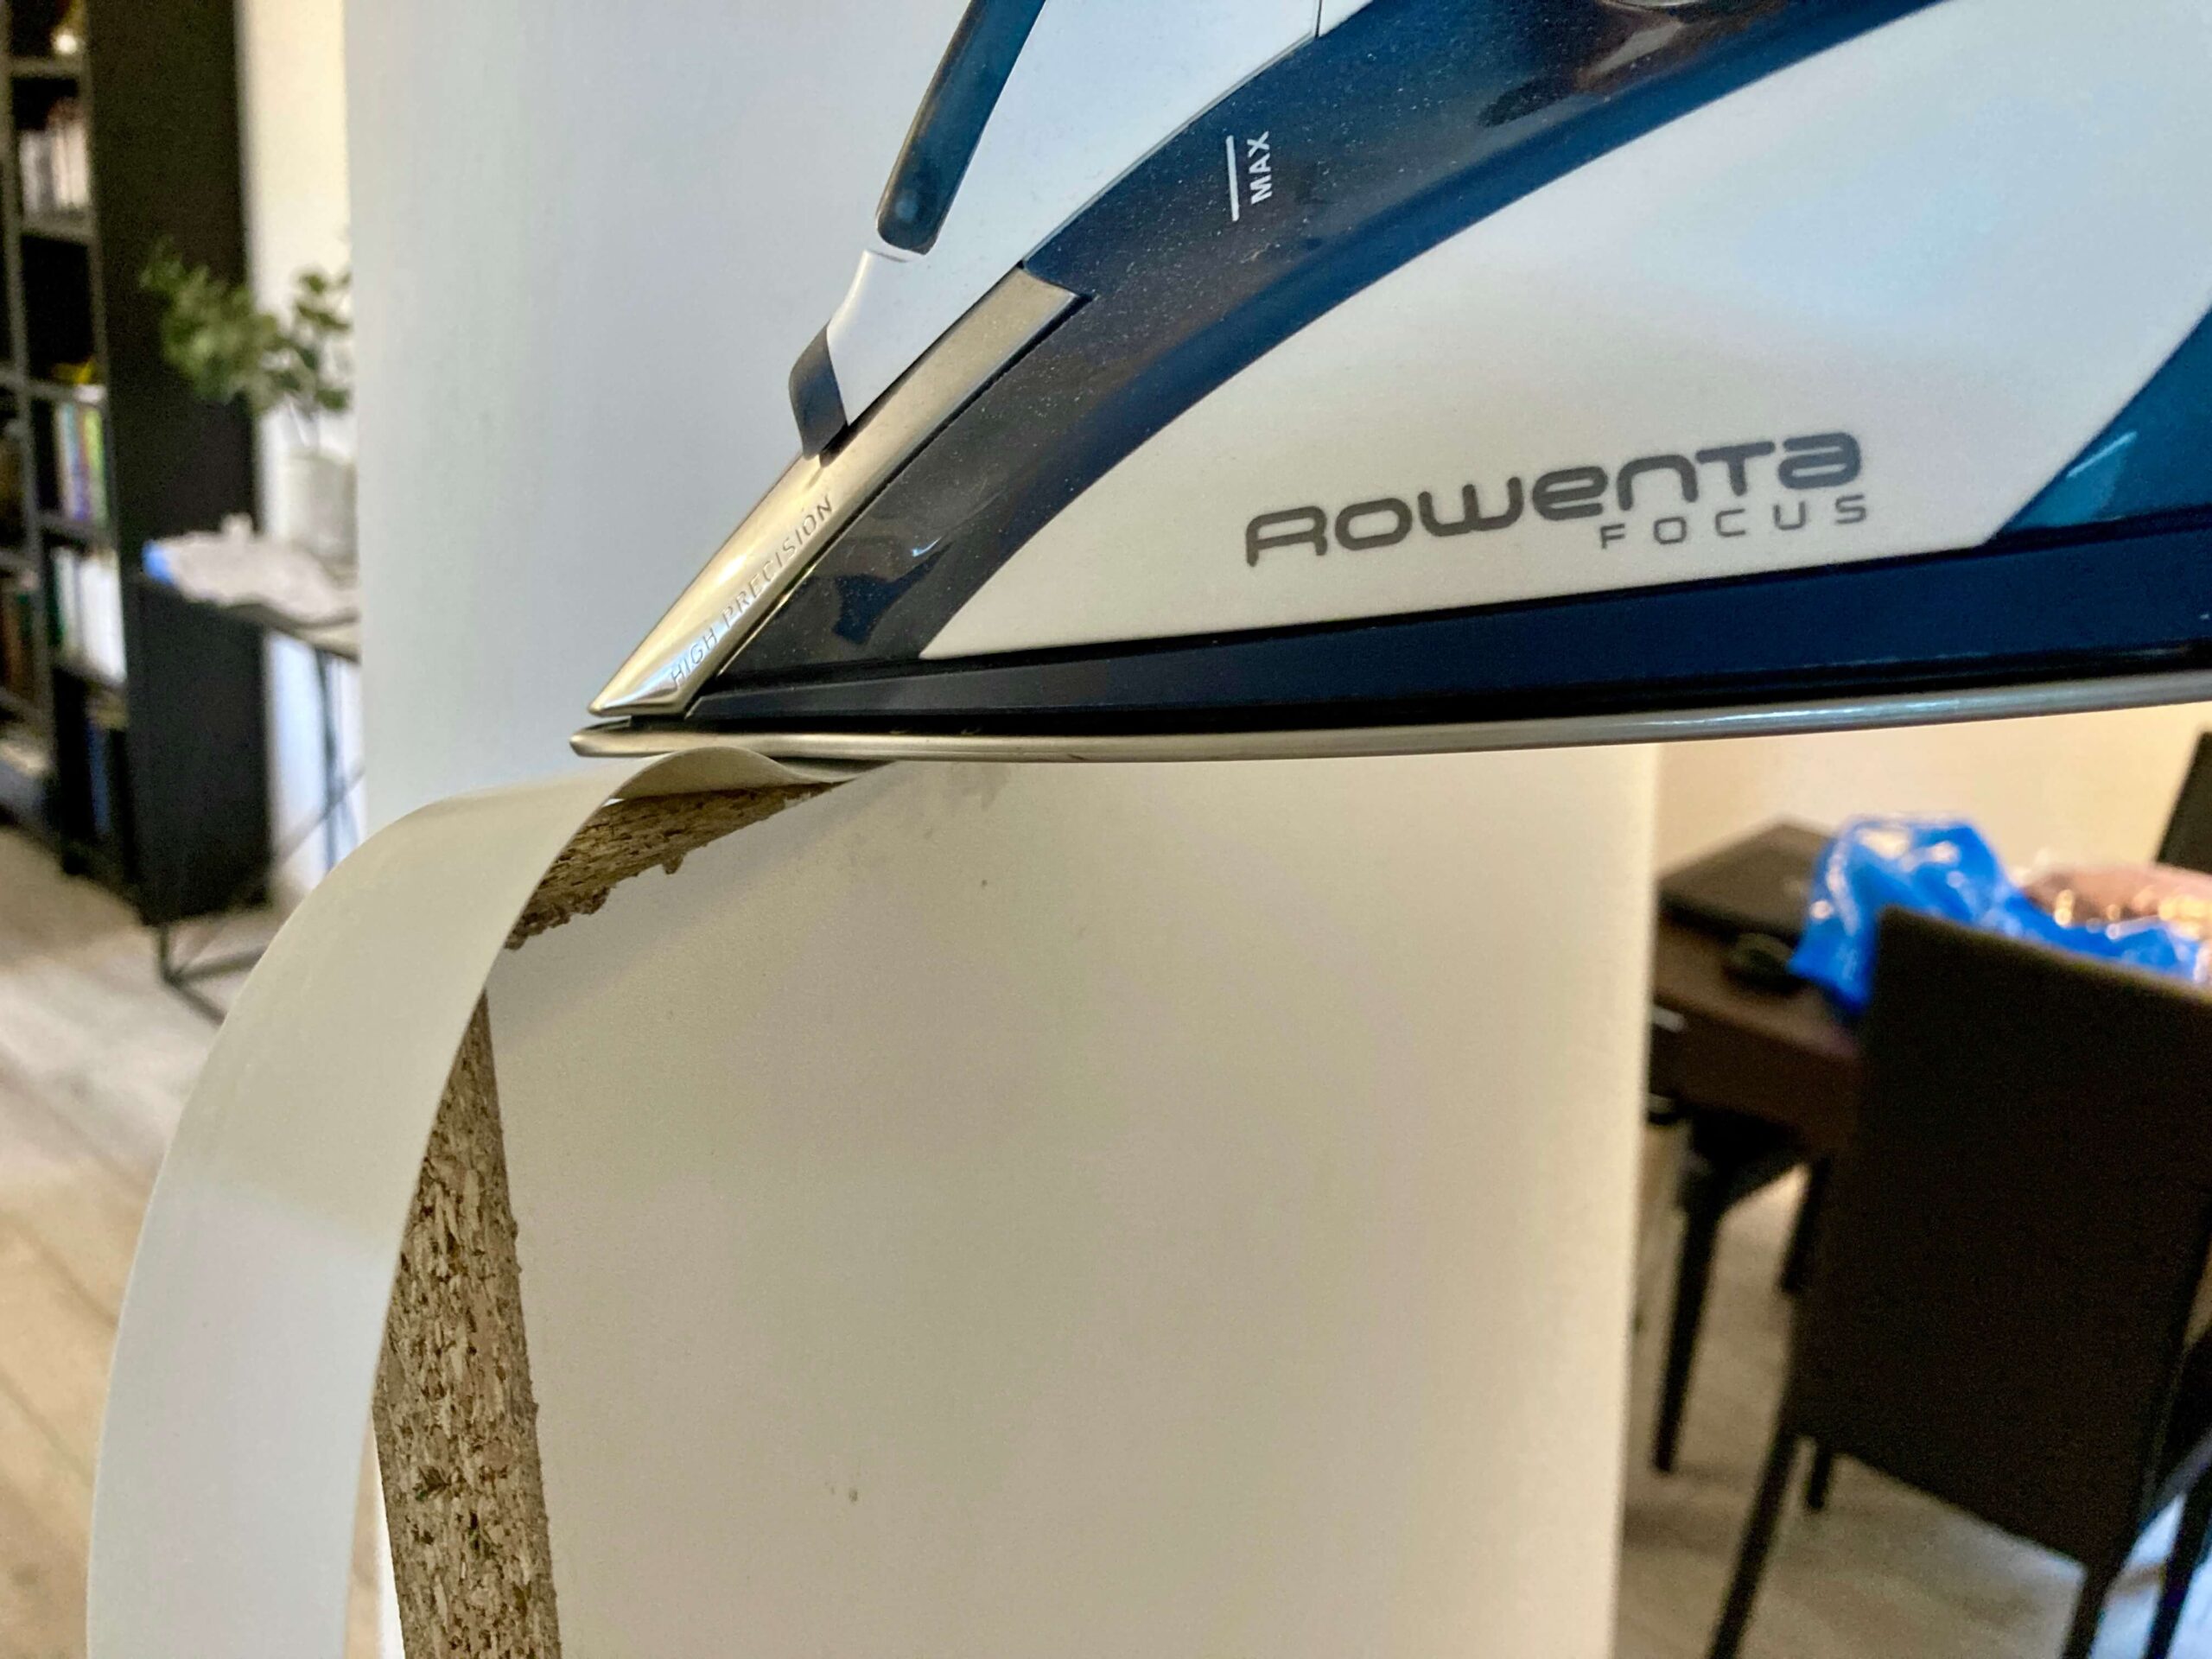
Now you’ll be left with two exposed, raw-cut edges—decidedly unattractive.
That’s why, while you’re at the store, remember to pick up some iron-on edge banding. This is a simple laminate strip with adhesive on the back that bonds to the panel edge when heated with an iron (after you’ve sanded and leveled the edge).
Once dry, trim the excess with a utility knife.
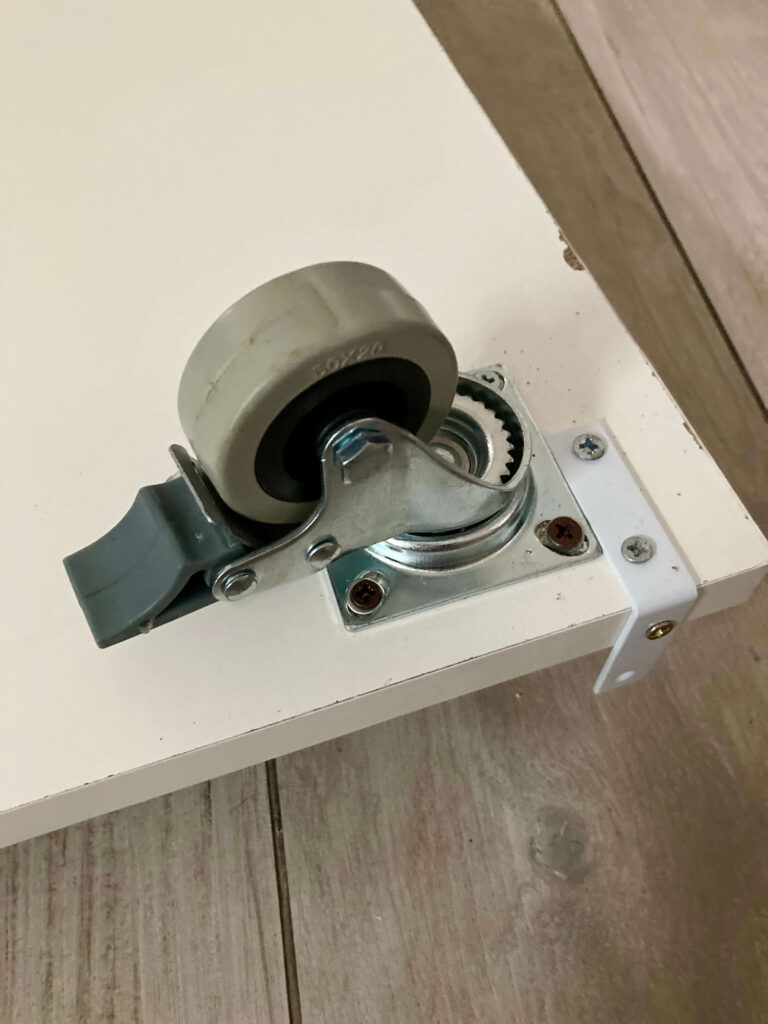
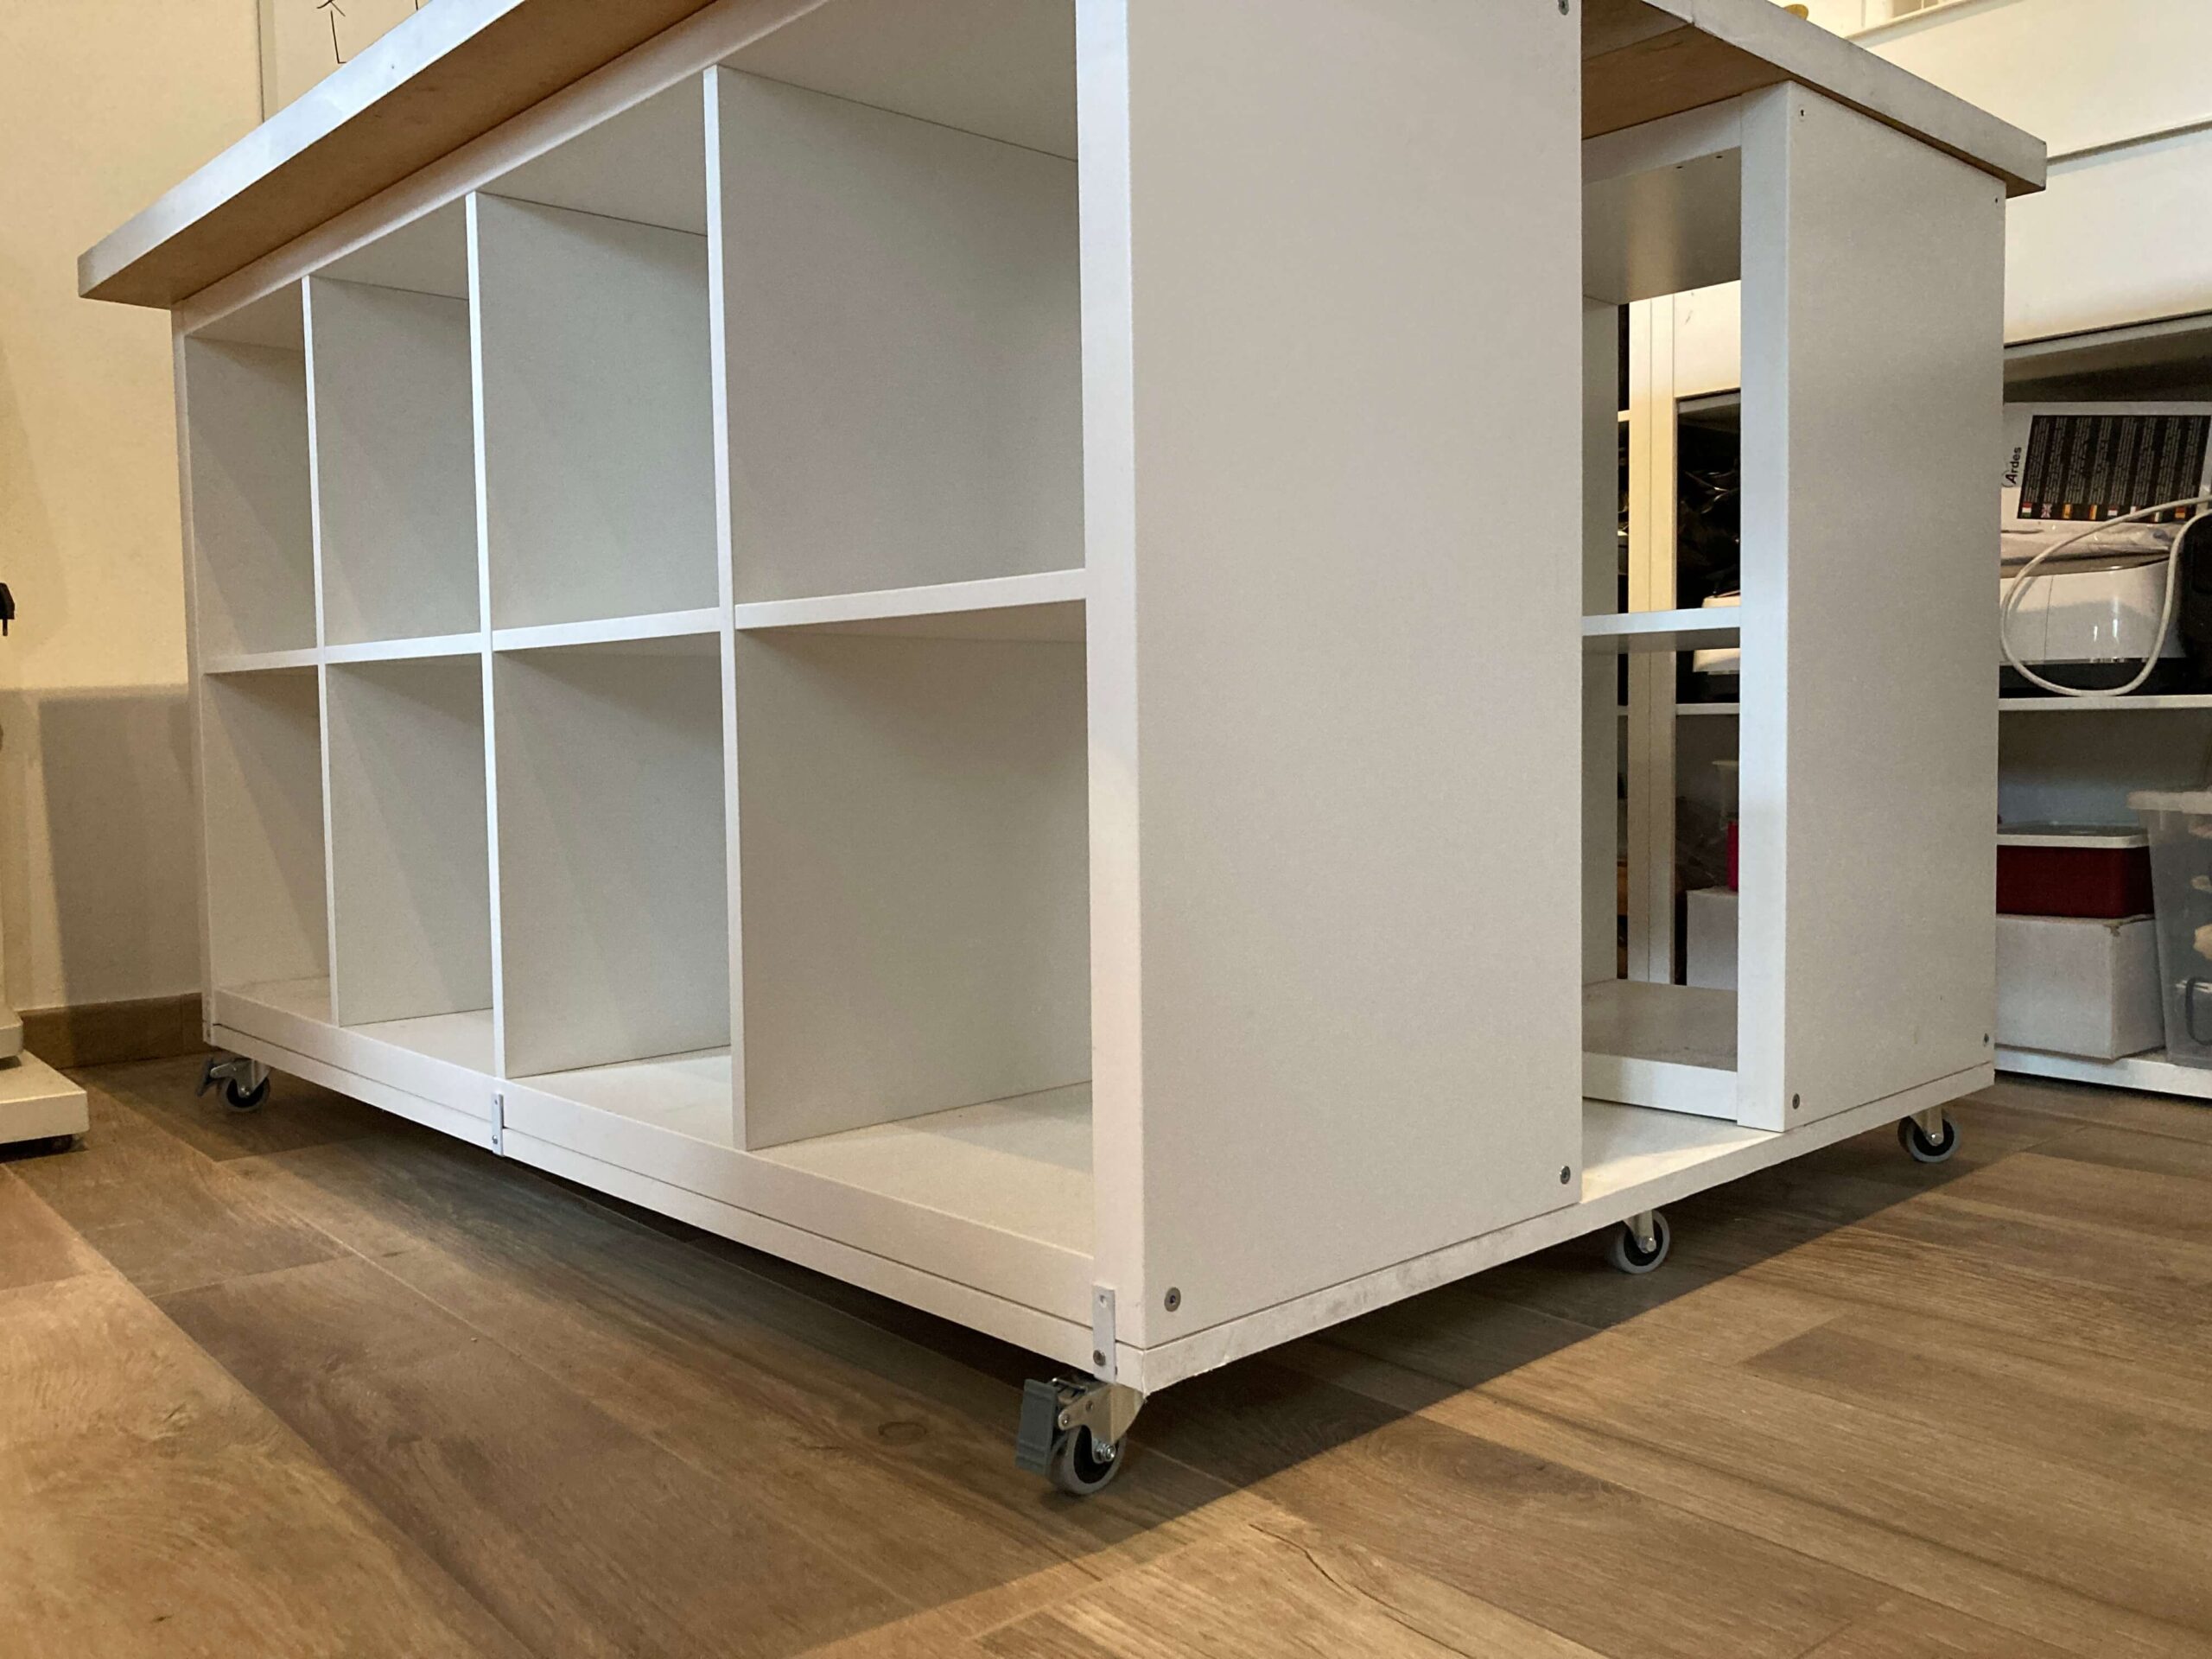
If you want your sewing table to be movable like mine, you’ll need caster wheels. To make sure your table doesn’t roll away every time you lean on it while tracing patterns or cutting fabric, four of the wheels should have brakes.
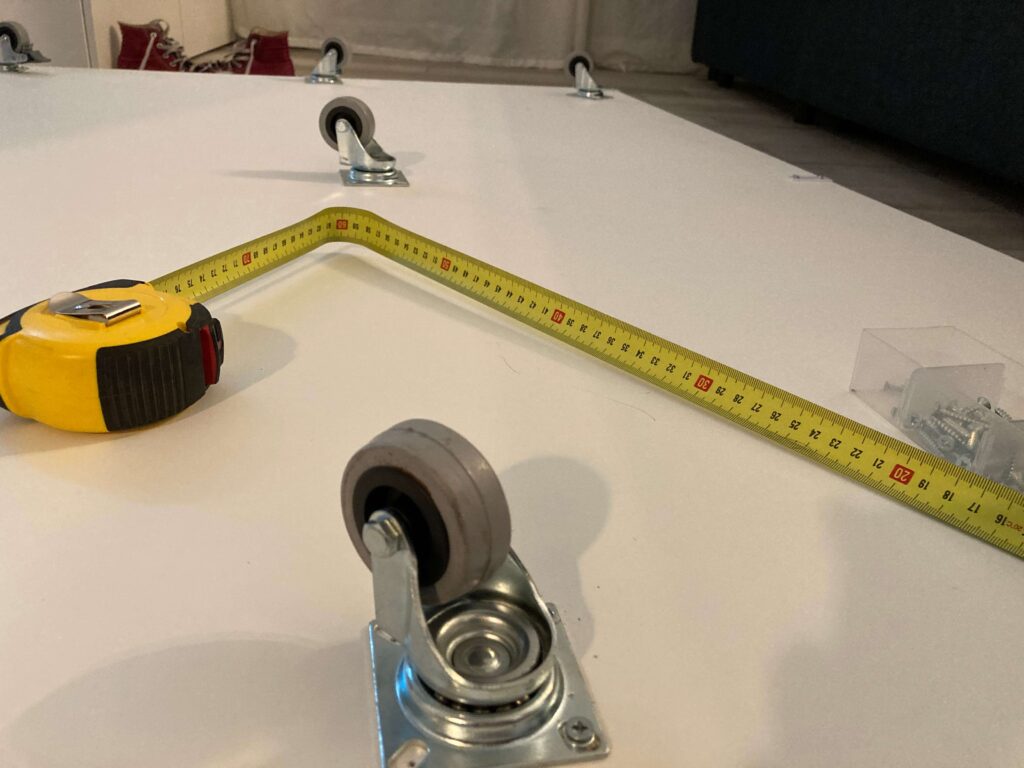
I installed 11 wheels on my base, but you can adjust the number based on the table’s weight and the material stored inside. In this case, more is better! It will make moving the table much easier.
– Make sure the screws are not longer than the total material thickness, or the screw tips will poke through the surface.
– Be careful, especially when working with Ikea furniture, to only screw into the outer edges of the panels. The rest of the structure is hollow and won’t hold screws well.
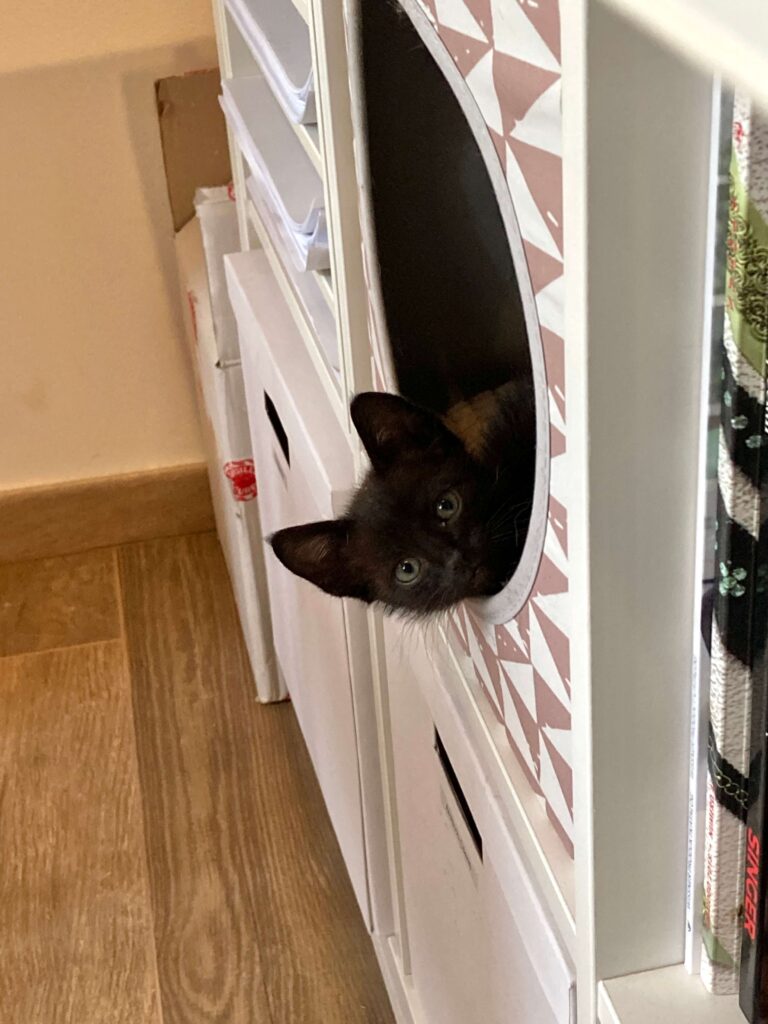
Remember the cat that wouldn’t leave me alone while I worked? Well, I found a solution: the KALLAX pet bed accessory. Now the cat can chill nearby in total comfort, and I can work in peace.
Don’t forget to add a cushion for the cat’s new bed!
2. Using self-tapping wood screws, I attached the wheels to the panel, placing the 4 braked wheels at the corners, then spacing out the remaining wheels evenly
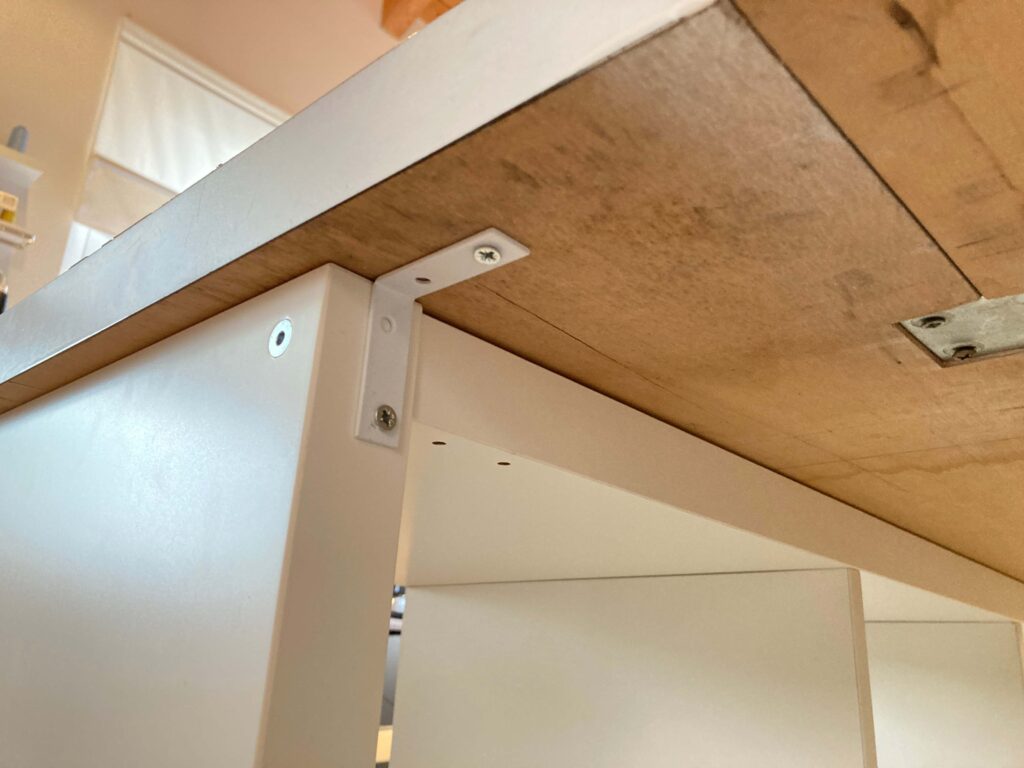
along the edges and center. Before flipping the panel to rest on the wheels, I also attached the white L-brackets, 3 per side, to the panel edges. These will be used later to secure the KALLAX units.
Now it’s time to assemble the two KALLAX units following the instructions. Once built, I placed them on the base (you’ll need two people for this) at both sides, aligned with the panel edges, leaving an empty space in the middle to store large-format paper or fabric rolls.
4. Then I joined the two top panels together with two metal plates and screws, and placed them on top of the KALLAX units.
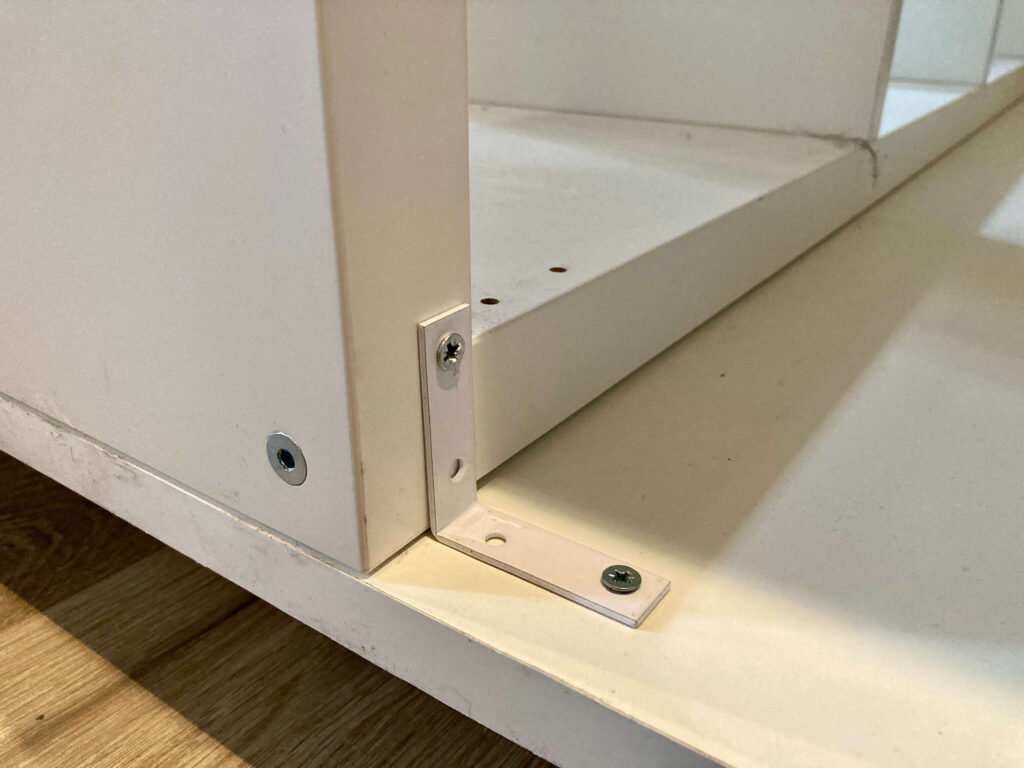
5. It’s time to secure all the elements together using brackets and screws, placing them at the furniture edges and center to ensure solid material for fastening (not just the thin outer shell). Six brackets underneath the tabletop connect it to the KALLAX units, plus four more brackets in the space between them, mirrored from the ones under the base.
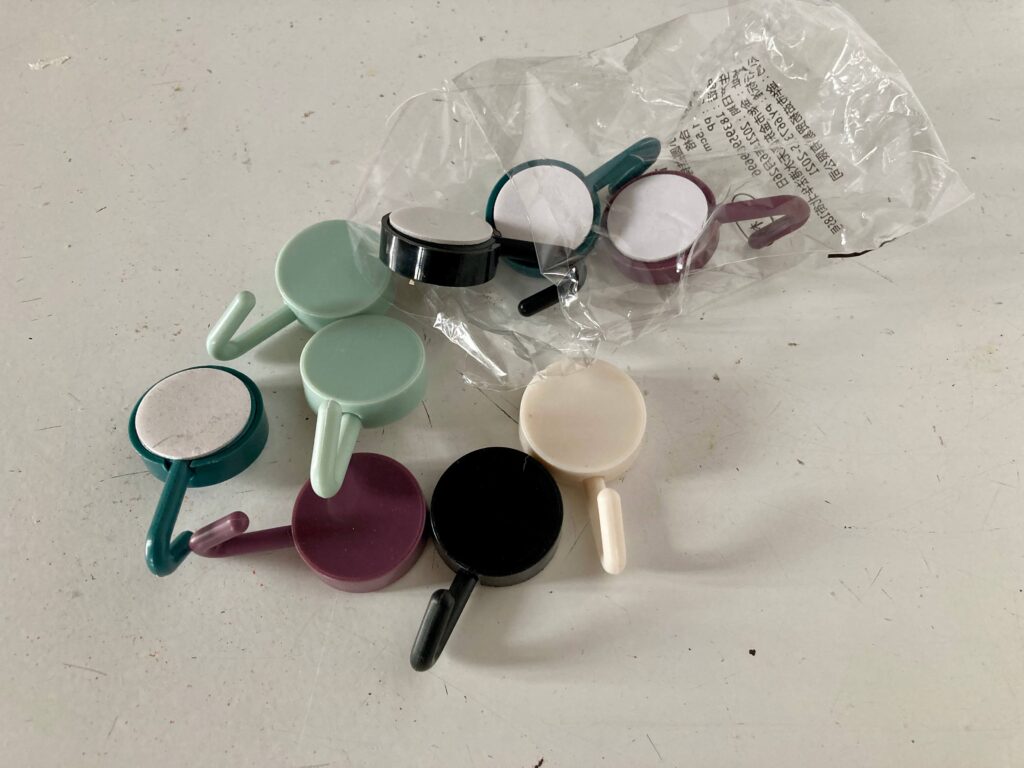
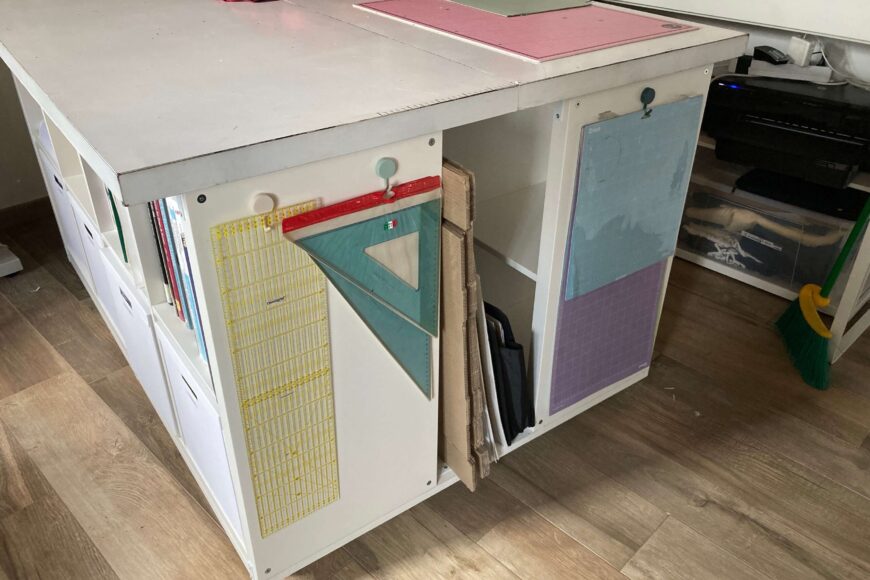
6. Final touches: boxes, adhesive hooks, and accessories.


This Site uses certain types of technical cookies necessary for its correct functioning, as well as statistical and Profiling cookies from third parties. If you wish to deny consent close the banner by clicking on the X placed in the upper right corner and this will result in the default settings remaining in place and consequently the continuation of navigation in the absence of cookies or other tracking tools other than technical ones. If you want to accept all cookies, click on accept all, if you want to independently select the cookies to accept click on Manage Settings. If you want to learn more check the Privacy Policy